Wednesday 25 April 2012

fixing stuff

my north facing vegetable garden has suffered in summer from scorching heat so yesterday i had some cement removed from my back south facing garden to make way for a more protected vegetable garden..three men used a cement grinder, jack hammer and brute force to remove the cement..they then dug the soil and added a trailer load of compost and manure..i need to wait a few weeks before i can plant anything because the manure is still a bit potent and it's likely to burn delicate seedlings..it's rained since it was done which is great for the soil..

cement that was removed to make way for my new vegetable garden


i've been wanting a table for outdoor entertaining for ages and by chance i found the style of table i like at my local op shop last week..i had it delivered yesterday and my daughter and i spent the afternoon stripping paint from its top and it's now ready for sanding and then oiling..next week we'll work on the legs which i think i will repaint..

layers of paint being removed from my 'new' outdoor table


i've had no bathroom door for the last 4 years because i removed the ugly vinyl concertina door that was in situ when i moved in and i hadn't got around to buying a new door..fortunately friends who've stayed at my doorless bathroom establishment haven't been fazed..while cleaning out the shed a while back i found the original bathroom door and i've been restoring it..

multiple layers of paint being removed from one side
  and varnish from the other side of this door


i found this little table in a skip a few months ago and i made the mistake of removing the paint with a view to just waxing and oiling the timber..but when stripped i found that it was made of a variety of timbers and it just didn't look right so it's going to be being repainted..

more paint being removed from this table


i am going to new zealand tomorrow for a little holiday and i will be back in a week..x

Wednesday 18 April 2012

ginger syrup

question: hmm..what would be a good non alcoholic, cooling, thirst quenching, curry compatible drink to have before and/or with dinner..
answer: i know..how about a home made ginger syrup with soda water, lemon juice and some bitters in there for fun..

ginger syrup recipe
recipe adapted from here
chop it
2 cups fresh ginger

blitz it 
the ginger


boil it
~bring the ginger, 2 cups sugar and 6 cups water to the boil and then lower heat to medium and boil for about an hour until it has reduced by about half


strain it
~through muslin squeezing to get all the goodness out


bottle it
~when it's cool and then refrigerate
~use within 2 weeks


drink it
~put crushed ice in a glass
~add about 60 mls of ginger syrup or to taste
~top up with soda water
~add lemon juice to taste
~a dash of angostura bitters
~and a lemon slice and mint sprig to garnish (my son's idea)


note: the syrup would make a great cocktail base too by adding 30 mls of vodka (my children's idea) to the above drink and using less soda water or go here for a great recipe i know i'm looking forward to trying..although i'd add soda water rather than the ginger ale..


cheers dears..:)

Tuesday 17 April 2012

op shop finds

from the last two weeks..

$2 for a pretty hand painted vase
i found the mirror in an op shop too a couple of years ago

$8 for this finely cross stitched piece in a
lovely old wooden and plaster frame

$3 for an early australian fowler ware bowl
$2 for the brand new hand appliqued table cloth

$2.50 for this coloured enamel bowl
the table cloth is also an op shop find but from a few years ago

brand new still in their packet vintage single bed
sheets for $7

used but in good condition double bed sheet for $2

$5 for this new t2 teacup


hop on over to
the shady baker
for more op shop treasure


Sunday 15 April 2012

sourdough with atta..tude

lately when i've been supermarket shopping i've noticed a plastic container of flour on the shelves called 'atta' flour with jimmy from masterchef smiling at me..i'd looked at the price..ha..expensive..and i'd briefly looked at the contents..but beyond that i didn't think much more about it..you know when you see something and you don't know what it is exactly or what it's for and your mind is so full of things that you don't explore that unknown thing at the time and then you just move on..well that was me and that atta flour..

at around the same time i was doing a bit of internet searching for local stoneground bread making flour..it was a rather fruitless search until i came across an article that piqued my interest which was about four indian brothers by the name of 'grewal' who stone grind pesticide free wheat which they grow near mildura 543 kms north west of melbourne..i looked into buying the 'grewal' flour locally but most outlets i sourced on the internet were a water the camels with a packed lunch and don't wait up for me drive away..

one day i had a light bulb moment though and i decided to poodle off to see if my favourite indian grocer in footscray had it..it's an easy 3-4 km drive from where i live and guess what..there are several op shops in the area too.. in fact it was while op shopping that i found the indian grocer..

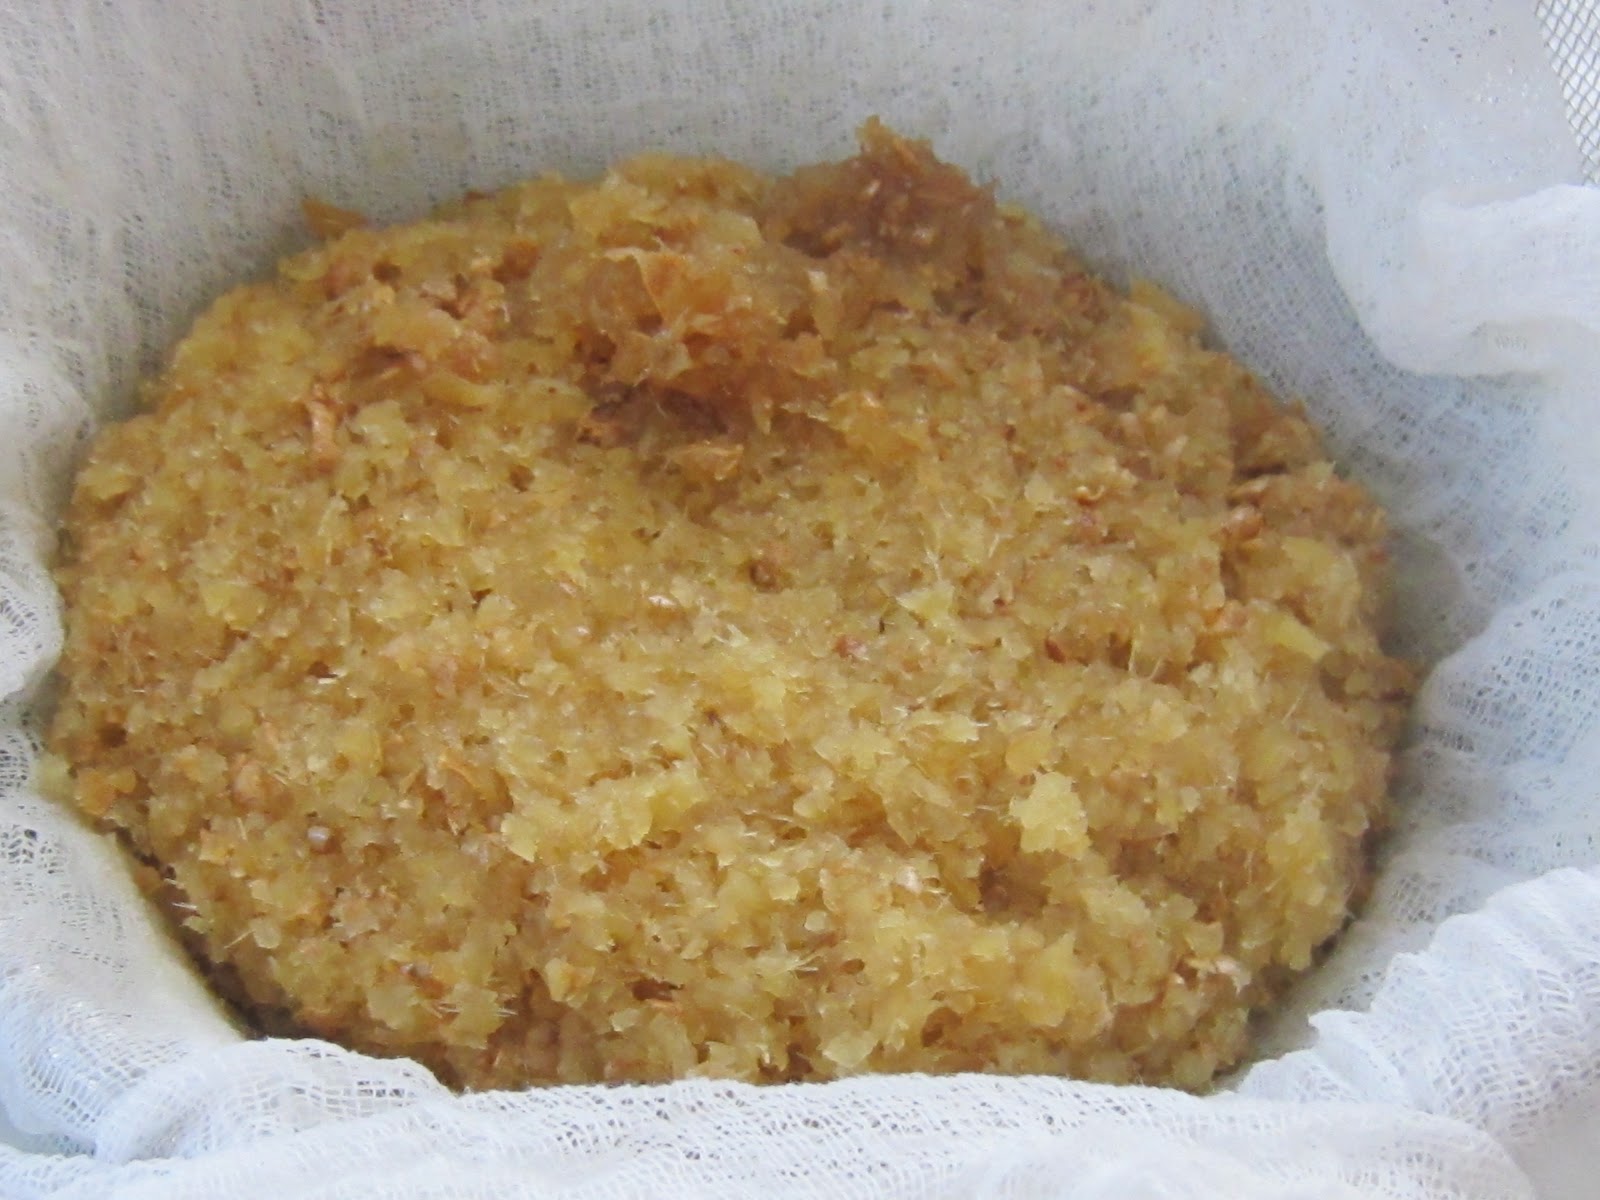
i was pretty pleased to find that the grocer had 'grewal' flour even though it only came in 10 kgs bags..when i read the blurb about it on the bag i realised that it was atta flour..that same flour i'd seen in the supermarket..they had several varieties but the one i wanted was chakki atta which is whole wheat stone ground flour.. i checked with the staff to find out whether it was suitable for bread making and they assured me that it was so i paid the $10 and schlepped my booty back to the car with a very self satisfied and congratulatory feeling..i had found cheap, pesticide free, stoneground and locally (by australian standards) produced bread making flour..triumph..

hubris is sure to fall on it's knees and mine did when i made my first atta loaf..after i bought it i looked on the internet regarding the suitability of atta flour in yeasted and sourdough bread (by this stage i realised that it's mainly used to make indian breads) to find mixed but mainly negative responses..i went ahead anyway and made a yeasted loaf with half atta and half white flour..the resulting loaf was one of the most tasteless loaves i've ever eaten..although having said that it was nice and crunchy when toasted and my generosity with the vegemite or jam helped to camouflage its blandness..not being one to give up easily or aka stubborn i then made a sourdough loaf with a mix of white and atta flour that wasn't bad..i took that as a sign of hope..

yesterday i made another sourdough loaf with 20% atta flour and i made a change to my method by covering the bread with a metal lid for the first 15 minutes of baking..i was pretty happy with the result..the loaf rose well, the crust was crunchy and the crumb flavoursome, moist and with a density that i like..

i'll be making this bread again using the same recipe and as well i'm going to experiment with making indian breads..it's something that i've wanted to do for a long time and i do have plenty of flour to practice with..:)


i am hoping to eliminate the tearing and lifting of the crust by leaving the dough to prove longer and/or
improve my slashing technique


it was quite warm when i cut it


atta sourdough


ingredients

levain
1 tbs sourdough starter
100 gms white bread flour
125 gms filtered water

final dough
250 gms levain
200 gms warm filtered water
200 gms white bread flour
100 gms wholemeal flour
100 gms chakka atta flour
1 1/2 tbs crushed murray river salt


method levain

day 1
~mix the starter with the water and flour and cover and leave for 16 hours

method final dough

day 2
~put the levain in the bowl of a stand mixer, add the water and mix well
~add the flours and mix until well combined
~autolyse for 10 minutes
~add salt and mix for 2 minutes
~rest for 10 minutes and mix again for 2 minutes
~remove the bowl from the mixer, cover the dough loosely with greased cling film and place somewhere warm and draught free for 3 hours 
~remove the dough from the bowl onto a lightly floured bench and cut the dough into two 
~knead each piece of dough for a few seconds, cover with the cling film and leave for 10 minutes
~knead again for a few seconds and leave for an additional 10 minutes
~shape each piece of dough into rectangles about 15 cm x 10 cm then fold the four corners towards the centre and then roll each piece into an oval shape pinching the seams along the long side and folding and pressing the ends in*
~place each piece of dough between the floured folds of a tea towel, cover with cling film and leave for 3 hours or until a finger pressed into the dough leaves a clear indentation
~preheat a baking tray and an oven proof metal lid large enough to cover the bread and facilitate unimpeded rising**
~dust loaves with flour and score each with three parallel slashes 
~dust the baking tray with a little rice flour and place each loaf on the heated tray
~spray the dough liberally with water and cover with metal lid 
~bake using the bread baking function at 220 deg c for 15 minutes
~remove lid and lower the temperature to 200 deg c and bake for a further 20 minutes or until cooked

note: */** see this excellent video for shaping help and cooking information


happy monday..x


this post submitted to yeastspotting

Tuesday 10 April 2012

cupboard love

mentally i've rearranged my workspace dozens of times..and i have physically moved things around a lot too while trying to make the space functional and aesthetically pleasing..but no matter what configuration i tried it just didn't work so a while back i swapped the spare room and workroom around..that of course was after much deliberation and i even wondered at one or several angst ridden moments whether my spacious bedroom might make a better workroom..and in reality it would..but in the end i decided not to relinquish my large airy bedroom which has a garden view and where outside i have strategically planted deciduous and non deciduous plants to cool my room in summer and warm it in winter..

over the last year or so i'd been looking in op shops for a glass fronted cupboard for my workroom to store my vintage sheets and pillow cases..several months ago i found the very style of cupboard i'd had in mind..even though it was an op shop purchase it wasn't cheap and i had to pay extra for delivery..when i bought it i wasn't sure whether i would strip the dark brown lacquer off or paint it..my decision was made when i did a test strip patch and found that the timber had been stained black prior to being lacquered and it was resistant to removal no matter what i tried..

the cupboard sat outside under cover waiting to be painted for ages when one very windy day it was blown over onto it's front..it lay in its prostrate state for a few weeks because it was too heavy for me to lift into the upright position..there was an unhinged door looking like a cumbersome broken limb lying awkwardly under the heavy cupboard and shards of glass everywhere..i gave up hope that my cupboard was salvageable and so i decided that the easiest and cheapest method of disposal was to break it up and take it to the tip..i felt sad because not only had i lost several hundred dollars but i'd also lost a lovely cupboard that had taken me ages to find..

on one of my son's visits i asked him to lift the cupboard into the upright position so that i could assess the damage before breaking it up..to my great surprise the broken limb door had sustained no damage at all apart from having come off its hinges and while the glass was broken in the other door it was still in situ..remarkably that was the only damage the cupboard had incurred..

i've mentioned previously that recently my daughter has been helping me finish some renovation work and furniture painting..i can't take any credit for the cupboard painting because she did the two undercoats and two top coats that it needed..all i did was take the door with the broken glass off, remove the remnants of old glass and beading and get some new glass cut to size and together we replaced the glass and beading before we reinstated the doors..after such a long saga it felt pretty amazing yesterday to be able to finally put my fabric in the cupboard and to stand back and admire the pretty colour coordination..ah..it's cupboard love..


unfortunately i don't have a before photo but it was lacquered a very dark brown


now i'm planning my next vintage sheet quilt..

Monday 2 April 2012

chestnut sourdough with fig and fennel

i was inspired to make this bread today after i found some lovely dried figs and chestnut flour at an italian grocers on saturday and also because it feels like a nice autumnal thing to be making..


the crust is crunchy and the crumb moist and flavoursome with a nice balance of fig and fennel


tonight's dinner was proscuitto, holy goat mature veloute and chestnut sourdough with fig and fennel


chestnut sourdough with fig and fennel
recipe adapted from a zebbakes recipe

ingredients

levain
1 tbs sourdough starter
100 gms bread flour
125 gms filtered water

final dough
250 gms levain
200 gms warm filtered water
300 gms bread flour
100 gms chestnut flour
1 1/2 tbs crushed murray river salt
8 dried figs cut into medium dice 
1 tbs fennel seeds
olive oil

method levain

day 1
~mix the starter with the water and flour and cover and leave for 16 hours

method final dough

day 2
~put the levain in the bowl of a stand mixer, add the water and mix well
~add the flours and mix until well combined
~autolyse for 10 minutes
~add salt and mix for 2 minutes
~rest for 10 minutes and mix again for 2 minutes
~remove the bowl from the mixer, cover the dough loosely with greased cling film and place somewhere warm and draught free for 3 hours 
~remove the dough from the bowl onto an oiled bench, add figs and fennel seeds and knead to incorporate with the dough
~cover the dough on the bench with the greased cling film and leave for 10 minutes
~knead for a few seconds and cover with the cling film and leave for 10 minutes
~cut the dough in half, shape into rectangles about 15 cm x 10 cm and roll each piece along the longer side to make a sausage shape
~place each piece of dough between the floured folds of a tea towel, cover with cling film and leave for 2 hours or until a finger pressed into the dough leaves an indentation
~preheat a baking tray and place a dish of hot water in the oven
~dust each loaf with flour and score each loaf down the centre 
~dust the baking tray with a little rice flour and place each loaf on the heated tray
~bake the dough on the bread baking function at 220 deg c for 15 minutes spraying the oven sides with water several times during the first 10 minutes of baking
~lower the temperature to 180 deg c and bake for a further 20 minutes or until cooked


this post submitted to yeastspotting

Sunday 1 April 2012

kourabiethes..greek shortbread

kourabiethes are a favourite greek biscuit in my family so i thought i'd make a batch to have at easter along with tsoureki and hot cross buns..there are lots of recipes available for these greek biscuits with minor variations here and there mainly in flavouring and shaping..i've never seen another recipe though like the one i have where the butter is clarified which i think adds another delicious dimension..because the flavour of kourabiethes improves with age i was able to make them today which is great because it's one thing sorted..there's one problem though with making them early and that's their deliciousness which has already tempted me to eat two with a cup of tea this afternoon..


kourabiethes
adapted from a recipe given to me by a friend many years ago

ingredients

250 gms unsalted butter 
1/3 cup of icing sugar
1 egg yolk
1 tbs brandy
3/4 to 1 cup almonds finely chopped
1 cup plain flour
1 cup self raising flour
2 cups sifted icing sugar extra

method

~heat oven to 180 deg c 
~place almonds on a baking tray and lightly brown in the oven
~place the butter in a saucepan and heat until bubbles subside and the sediment is golden taking care that  it does not burn
~pour the butter into a mixing bowl leaving the sediment in the saucepan
~once the butter has cooled add the 1/3 cup of icing sugar and beat until light and fluffy
~add egg yolk and brandy and beat well
~remove the bowl from the mixer and add almonds
~stir in sifted flours taking care to only add enough to make a soft dough
~shape walnut sized pieces of dough into round, oval, pear or crescent shapes and place on two baking paper lined trays
~place trays in the fridge for 10 minutes to firm the dough
~cook for 15 to 20 minutes or until firm and lightly browned
~leave to cool for 10 to 15 minutes 
~place a layer of the extra icing sugar in a large dish and add the kourabiethes in one layer and dust with remaining icing sugar   
~serve dusted with extra icing sugar

 variations

~1 teaspoon of vanilla may be added
~cloves may be pressed into each biscuit prior to baking
~1/2 tsp of mastiha ground with 1 tsp of the sugar..omit brandy and cloves
~biscuits may be cooled and sprinkled with a little rosewater prior to dusting with icing sugar
~walnuts may be used instead of almonds


happy april..x